
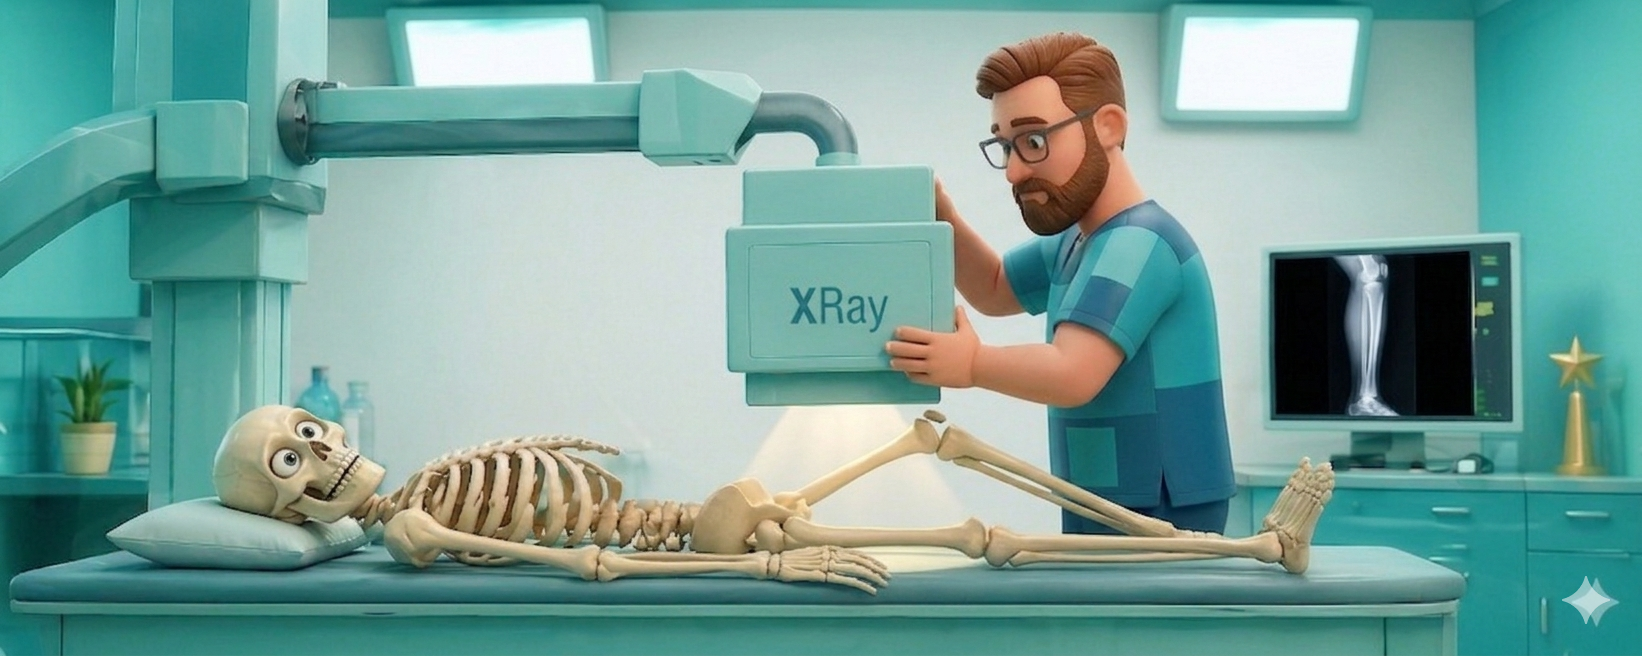
Lateral Tibia & Fibula
The Lateral Tibia & Fibula projection is the essential second half of the lower leg series. While the AP view provides a frontal perspective, the lateral view is critical for determining the depth of fractures, identifying posterior displacement, and visualizing the relationship between the tibia and fibula from the side. Because the fibula is located more posteriorly than the tibia, achieving a true lateral position is vital for accurate diagnostic imaging.
The Goal
To demonstrate a true lateral projection of the entire tibia and fibula, including both the knee and ankle joints, with the distal fibula superimposed by the posterior half of the tibia.
Patient Positioning
- The Setup: Roll the patient onto the affected side.
- Flexion: Flex the knee slightly (approximately 20–30°) to provide stability and ensure the leg remains in a true lateral plane.
- Alignment: Adjust the leg so that the patella is perpendicular to the image receptor (IR) and the malleoli are superimposed vertically.
- Pro-Tip: If the patient is in too much pain to roll onto their side, you can perform a Cross-Table Lateral by placing the IR vertically between the legs and directing the beam horizontally from the lateral aspect.
Technical Factors
- Central Ray (CR): Perpendicular to the IR, directed to the midpoint of the lower leg.
- SID: 40″ standard.
- Collimation: Must include both the knee and ankle joints. If the limb is too long, use the Diagonal Trick by placing the IR corner-to-corner to maximize the field of view.
Evaluation Criteria (The “Richie” Checklist)
- Joint Inclusion: Both the knee and ankle joints must be visualized on the image.
- Superimposition: The distal fibula should be superimposed by the posterior half of the tibia.
- Proximal Articulation: The proximal head of the fibula should show some superimposition by the lateral tibial condyle.
- True Lateral: The femoral condyles should be superimposed, and the patella should be seen in a true lateral profile.
- Physical Marker: Your lead R/L marker must be clear and positioned within the light field.
Why the Lateral Tib-Fib Matters
Many fractures that appear stable on an AP view may show significant posterior displacement or angulation on the lateral view. This is also the best view for visualizing Osgood-Schlatter disease or identifying “hidden” fractures of the posterior malleolus at the ankle and the tibial plateau at the knee.
Richie’s Pro-Tips for the Lateral Tibia & Fibula
Professional Presence: Trauma patients are often fearful of moving their injured limb. Explain the movement clearly, move the leg as a single unit, and use the cross-table technique if rolling onto the side causes too much distress. at the edges, joints at the very top or bottom of the IR may appear slightly distorted. Increasing your SID helps minimize this “beam divergence” effect.
The “Two-Image” Guarantee: If the patient’s leg is too long to fit even diagonally, take two overlapping exposures. Center one for the ankle and one for the knee, ensuring at least 2 inches of anatomical overlap to avoid missing any pathology in the mid-shaft.
Physical Markers are Mandatory: Digital markers are not legally sufficient for professional radiography. Always place your lead marker on the IR before exposure.
Stability is Key: Use sandbags or sponges to support the patient’s foot and knee. If the leg drifts out of the 90-degree lateral position, the fibula will not superimpose correctly, leading to a non-diagnostic image.